Procreate: The $13 Medical Illustration Studio
Procreate for Medical Art on the Go
Procreate has leveled up my illustrations and workflow in a big way! I live my life between two countries (Scotland and the USA) and I’m frequently on the go, so being able to draw high-quality illustrations from almost anywhere is a necessity.
I originally bought Procreate for about $13 USD, and almost overnight it shaved hours off my production time. If you are still tethered to a desk or debating the jump to an iPad-based workflow, here is how this "little" app is punching way above its weight.
Breaking Free From My Desk
Before Procreate, I was using a Wacom tablet (about 7.5in x 6.5in) that plugged into my laptop using a USB cord. While Wacom makes incredible tools, the model I used required a hard, flat surface and an adapter to fit my laptop. This meant a desk was my only viable option if I wanted to get any real work done. Now, having Procreate on my iPad allows me to work from airports, my mom’s kitchen table, and cafes. It’s small but mighty; Procreate effectively turns a 12.9-inch tablet into a full-scale medical illustration studio that fits right in my backpack!
Some of My Favorite Procreate Features:
The Price Point: Procreate cost me $13 USD. Unlike the Adobe Creative Suite, which can cost hundreds of dollars a year in subscription fees, Procreate is a one-time purchase. For students or freelance illustrators just starting out, this removes a massive barrier to entry.
The Portable Studio: The biggest win for Procreate is the direct-to-screen experience. Unlike the traditional Wacom I have where you look at your monitor while drawing on a separate pad, the iPad feels like a digital sketchbook. It’s so nice to be able to look at what I’m drawing again. I also love the sound of the pencil hitting the glass!
The "StreamLine" Feature: When drawing smooth lines, Procreate’s StreamLine setting stabilizes your stroke. It removes the "jitters" and makes your linework look incredibly polished. I’d pay so much money just to have this one feature. I know Photoshop has a “smoothing” feature too but in Procreate it somehow works so much better for me. It allows me to sketch much quicker and eliminates the “hairy” sketching lines.
Time-Lapse Videos: While not strictly necessary for the final product, Procreate automatically records a time-lapse of your work and I LOVE it! There is something incredibly rewarding about seeing hours of meticulous anatomical rendering condensed into a 30-second clip. It’s also a fantastic tool for showing the "behind the scenes" of your illustrations to a client or on social media.
My kidney illustration timelapse from Procreate!
Some of My Least Favorite Features:
Compatibility with Photoshop: No tool is perfect. My biggest frustration is the lack of "round-trip" compatibility with Photoshop. While you can export a .PSD file from Procreate to Photoshop with all your layers intact, going the other way, sending a Photoshop file back to Procreate, is often a headache. Layers can get merged or lost, and the two programs don't "talk" to each other as seamlessly as I’d like. Because of this, I’ve had to become very disciplined. I do all my heavy drawing at the start in Procreate and once I move the file to my Photoshop, that’s where it stays for final delivery.
Layer Limits: Procreate is a raster (pixel-based) program. Unlike Adobe Illustrator, which uses vectors that can be scaled to the size of a billboard, Procreate files have a maximum size limit based on your iPad’s memory. Since it relies on the iPad’s RAM, large canvases with high DPI will limit how many layers you can use. For medical art, I recommend always starting with a high DPI (at least 300-400) to ensure your anatomical details stay crisp if they ever head to print.
Is it right for you?
If you need heavy-duty text labeling or massive billboard-sized files, you’ll still need a laptop or desktop. But for 90% of medical illustration, the sketching, the painting, and the conceptualizing, Procreate is amazing!
I’m always finding more useful features from other artists, and I highly recommend doing a little digging yourself. I find my best tips and custom brush recommendations on YouTube and Pinterest. YouTube is fantastic for deep-dives into specific settings (like mastering the brush studio), while Pinterest is my go-to for finding new color palettes and texture techniques. If you're looking to level up your digital art game or work more efficiently in Procreate, definitely give those platforms a search; you’ll be surprised at how many hidden gems you'll find!
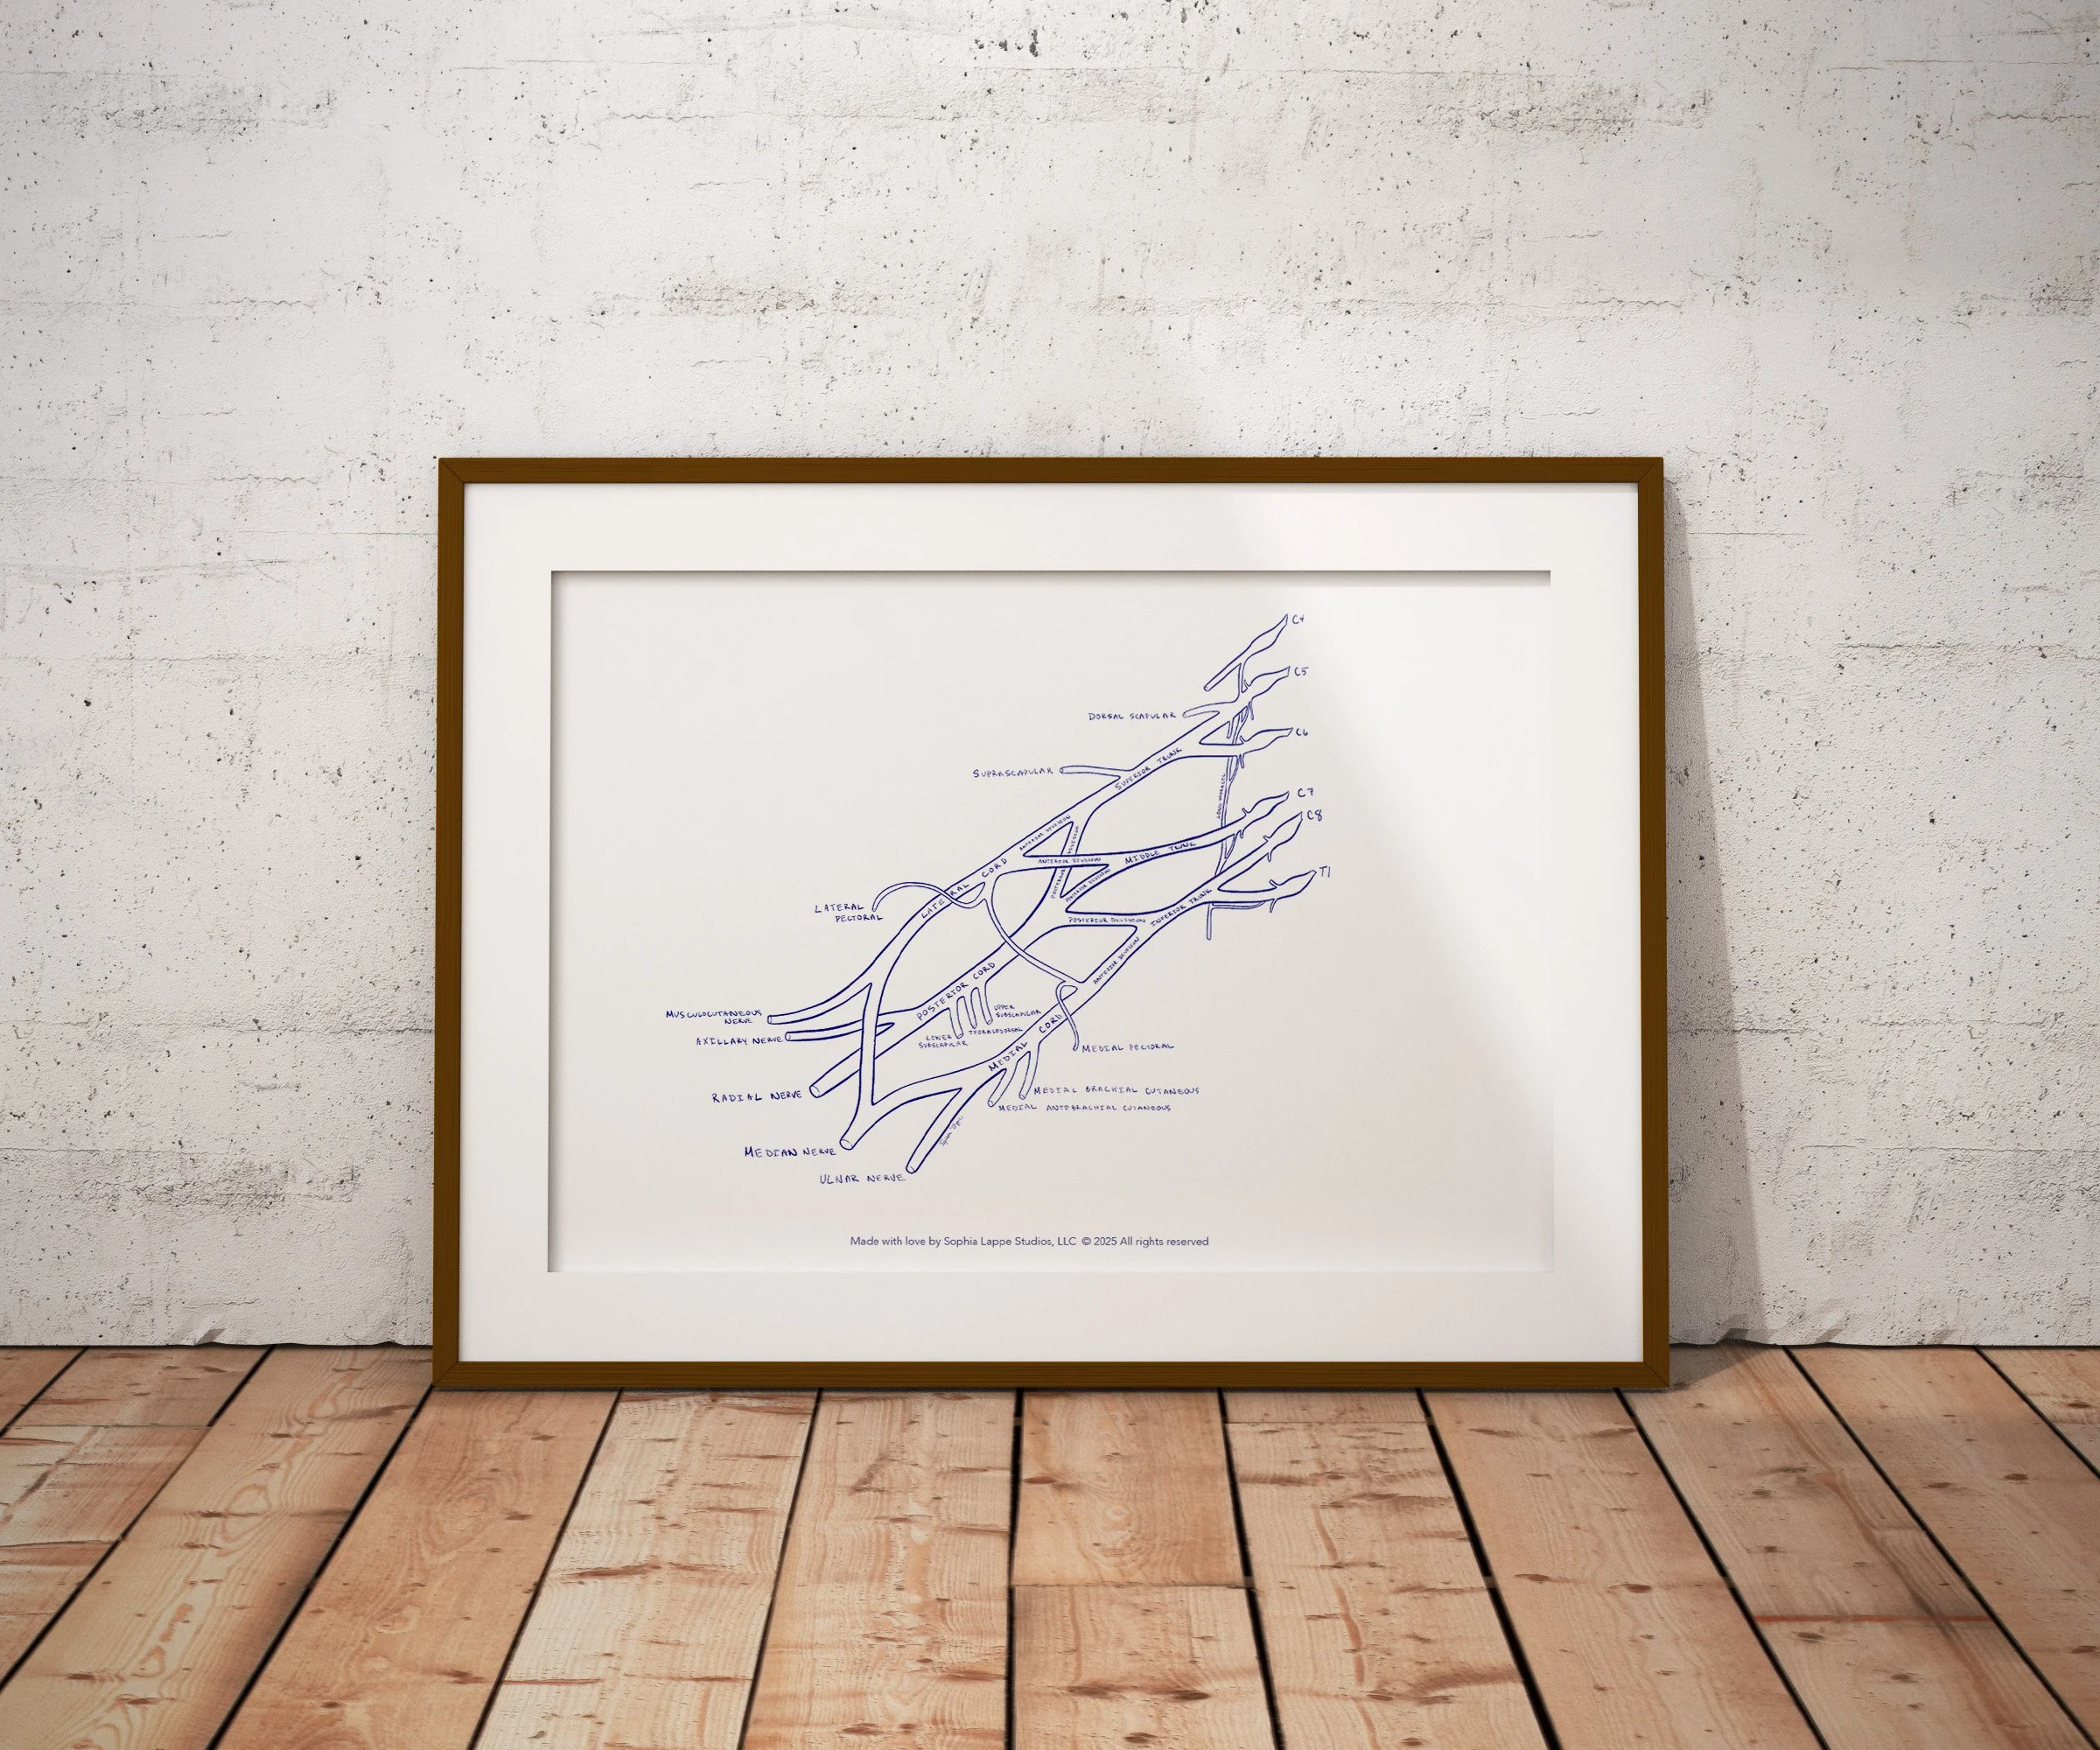
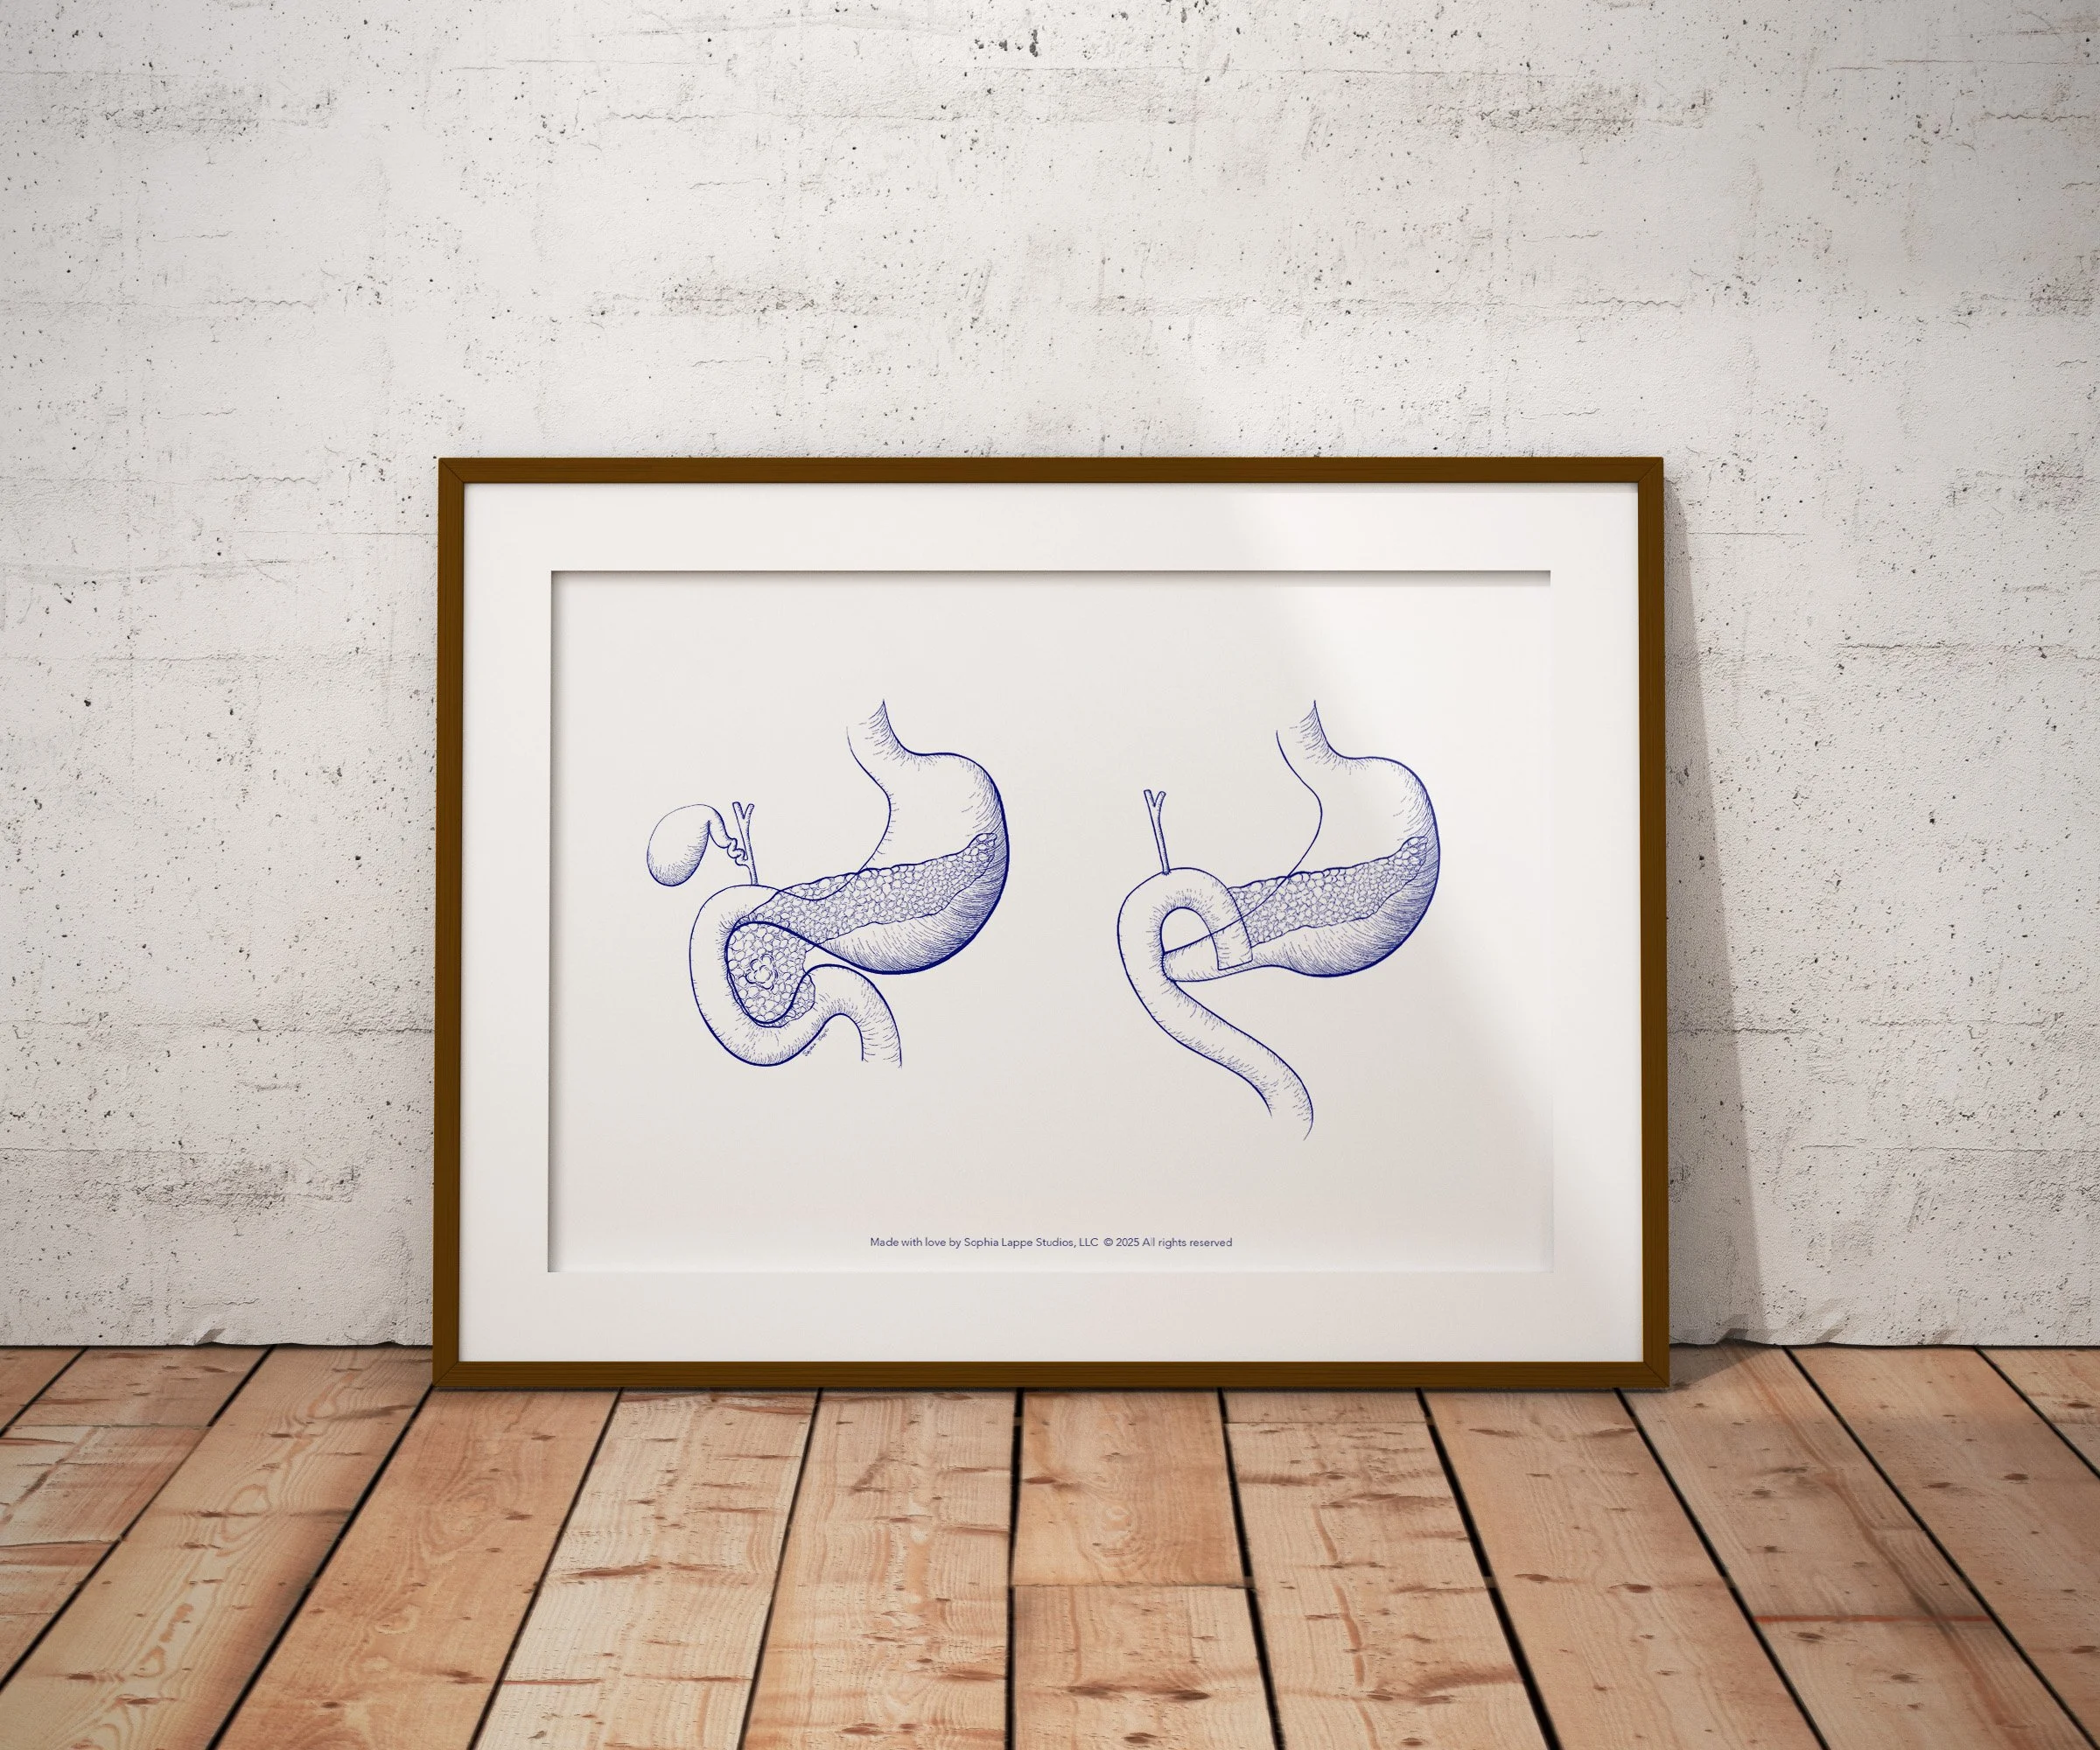
If you share my love of anatomy, I’ve turned some of my favorite illustrations into high-quality prints. You can find them right here in my shop!

If you’d like to work together, have questions or need advice about medical art, please don’t hesitate to get in touch!