3 Essential Rules for Vetting Your Anatomy References
This post contains affiliate links. If you use these links to buy something, I may earn a commission at no extra cost to you. I only recommend products I actually use!
The Importance of High-Quality Reference Materials
High-quality reference materials are essential when creating any medical illustration because they help ensure the final image is accurate, clear, and trustworthy. References help you correctly depict anatomy, pathology, and spatial relationships so you (the medical illustrator) can make thoughtful choices about what to simplify. Some medical subjects are simply too detailed and important to rely on memory alone. Using strong references also improves consistency, saves time, and gives you more confidence in your work.
While your anatomical knowledge as a medical illustrator is extensive, you shouldn’t rely on memory alone. In fact, your expertise is what makes references so vital; it puts your training to the test by allowing you to spot what’s missing, what’s oversimplified, or what is plain wrong in a source. Using a reference doesn't replace the need to study anatomy, it’s where that study pays off, giving you the critical eye needed to vet your materials and separate visual truth from errors.
I can’t stress this enough: if you want to create a high-quality medical illustration, you need to use high-quality references. To help you vet your sources, follow these three simple rules for determining if a reference is actually high-quality.
1. Anatomically correct
This rule seems obvious but when I first started working as a medical illustrator I would catch myself using anatomically inaccurate references halfway into my sketching phase. If your source material is anatomically incorrect and you don't catch it immediately, you’ve just spent hours meticulously rendering garbage. So, always cross reference your sources to make sure the anatomy is correct. Unfortunately, there are a lot of "legit-looking" bad illustrations out there, especially now with AI-generated images. You have to be hyper-vigilant. Even spending an extra 5 minutes scrutinizing labels and tracing structures will help you spot inaccuracies. In this field, we aren't just making art, we’re building educational tools and there can be huge ramifications for misrepresenting anatomy. An error doesn't always stay on the page, it can ripple out to the student, the doctor, and potentially the patient (no pressure!). We are the filter between complex data and visual truth; if that filter is broken, the consequences can be serious. So make sure you double, triple and quadruple check and cross check the anatomy to be sure your work is accurate and you’re not repeating the same errors as someone else. If you’re unsure, ask for help!
2. Trust the "Big Dogs" (But Verify)
You need to ensure your references come from reputable sources where experts have vetted the data. If you’re looking for a 3D model of a kidney to use as a reference, you’re not using your kid’s 7th grade science fair project made out of paper-mâché. This is low quality, obviously. We’re looking for the “Big Dogs,” sources like Harvard, Yale, Elsevier (Netter is a personal favorite, get the textbook here), and other certified medical illustrators (CMIs). These "Big Dogs" are industry leaders for a reason, but remember: even they might simplify a structure to make a specific point. Always cross-reference to ensure their simplification aligns with your specific goals.
Take a peek inside Netter’s Atlas, one of my favorite references for creating anatomically accurate illustrations.
3. Good Functional Lighting
"Good lighting" in a medical reference context means the light helps distinguish between different types of tissue (like the difference between skin, fascia, and adipose tissue). You don’t want to waste heaps of time staring at your reference trying to figure out where one tissue starts and another ends, although sometimes that is tricky! Make sure you choose a reference where structures are as clear as possible.
A Composite Reference For The Win!
Rarely does a single reference provide everything you need. Truly useful references are often a composite of many resources, for example, a 3D model, a cadaver photo, and a textbook illustration.
The 3D Model: For spatial orientation and rotation.
The Cadaver Photo: For realistic texture and "wet" anatomy.
The Textbook Illustration: For the "idealized" version of the structure.
Your job is to decide which details are "noise" and which are essential for your audience. By vetting your sources and building a composite view of your subject, you ensure that your work is a reliable tool for education.
Finding the right source can be a challenge, but it’s the best way to ensure your work stays accurate and efficient. Here is a list of some of the most accessible reference materials to help you build a high-quality medical illustration.
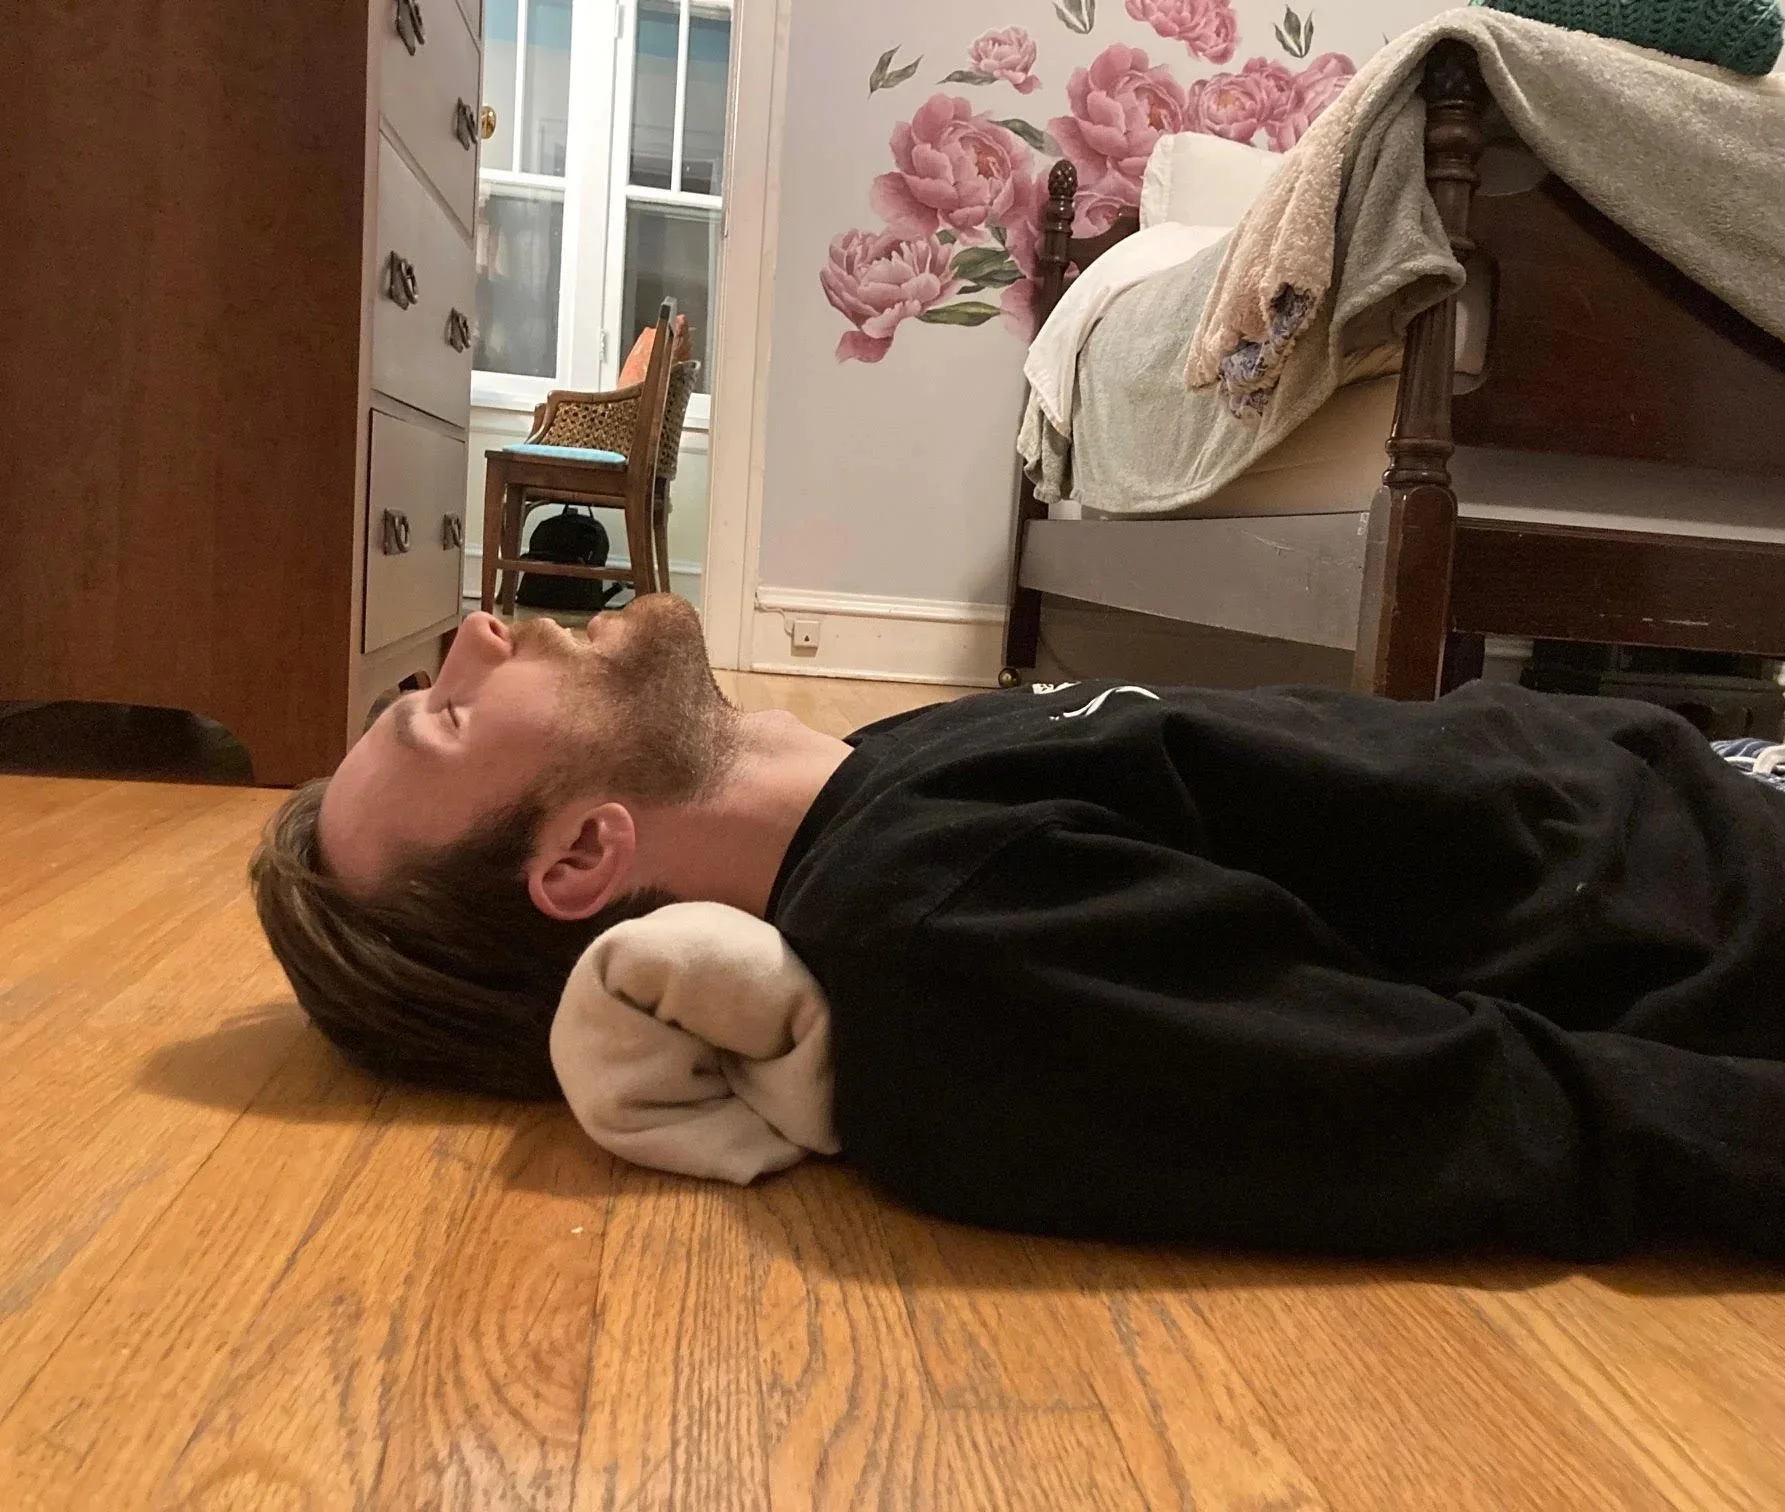
Real people
When it comes to illustrating the human form, either whole or parts of a figure, the most efficient reference image is almost always the one you take yourself. By setting up your own shot, you can capture the exact pose, angle, and proportions you need without wasting hours scouring the internet for one that is “close enough". There is an incredible sense of relief in being able to trace over your own custom reference; it’s a massive time-saver that instantly grounds your work in reality and you can be certain you’re not infringing on anyone’s copyright (yay!). My husband has become my default model. He might not have signed up for a career in modeling, but he’s the reason my figures are accurate! And let’s be real, nobody needs to pretend they’re free-handing every masterpiece from a blank void. Don't reinvent the wheel. Take the picture, trace it, and keep your workflow moving. Every phone has a camera these days so use it to make your workflow more efficient!
However, don't mistake tracing for a shortcut that bypasses skill. Those long hours spent in figure drawing and anatomy courses aren't wasted just because you’re working over a photo. In fact, this foundation is exactly what allows you to simplify a photograph into a clear, professional illustration. Tracing only gives you the rough outlines of the image but your training tells you how to interpret it. Once you have the tracing outline, you still need to decide where to vary line weights to create depth, which bony landmarks to emphasize, and how to interpret the musculature beneath the skin. The tracing is only the beginning of the illustration process!
Pro tip: Camera lenses can be deceptive, they often warp proportions or flatten perspective if taken too close. Make sure you’re standing at least 4 ft back from your subject if you’re taking a portrait and at least 8 ft back if you’re taking a full figure image. This will help reduce the warping but sometimes you need to manually correct the image so the final figure actually looks anatomically "right" rather than just "photographic.” Make sure you take a close look at your image for any signs of warping before you start tracing and take some from different angles/ranges!
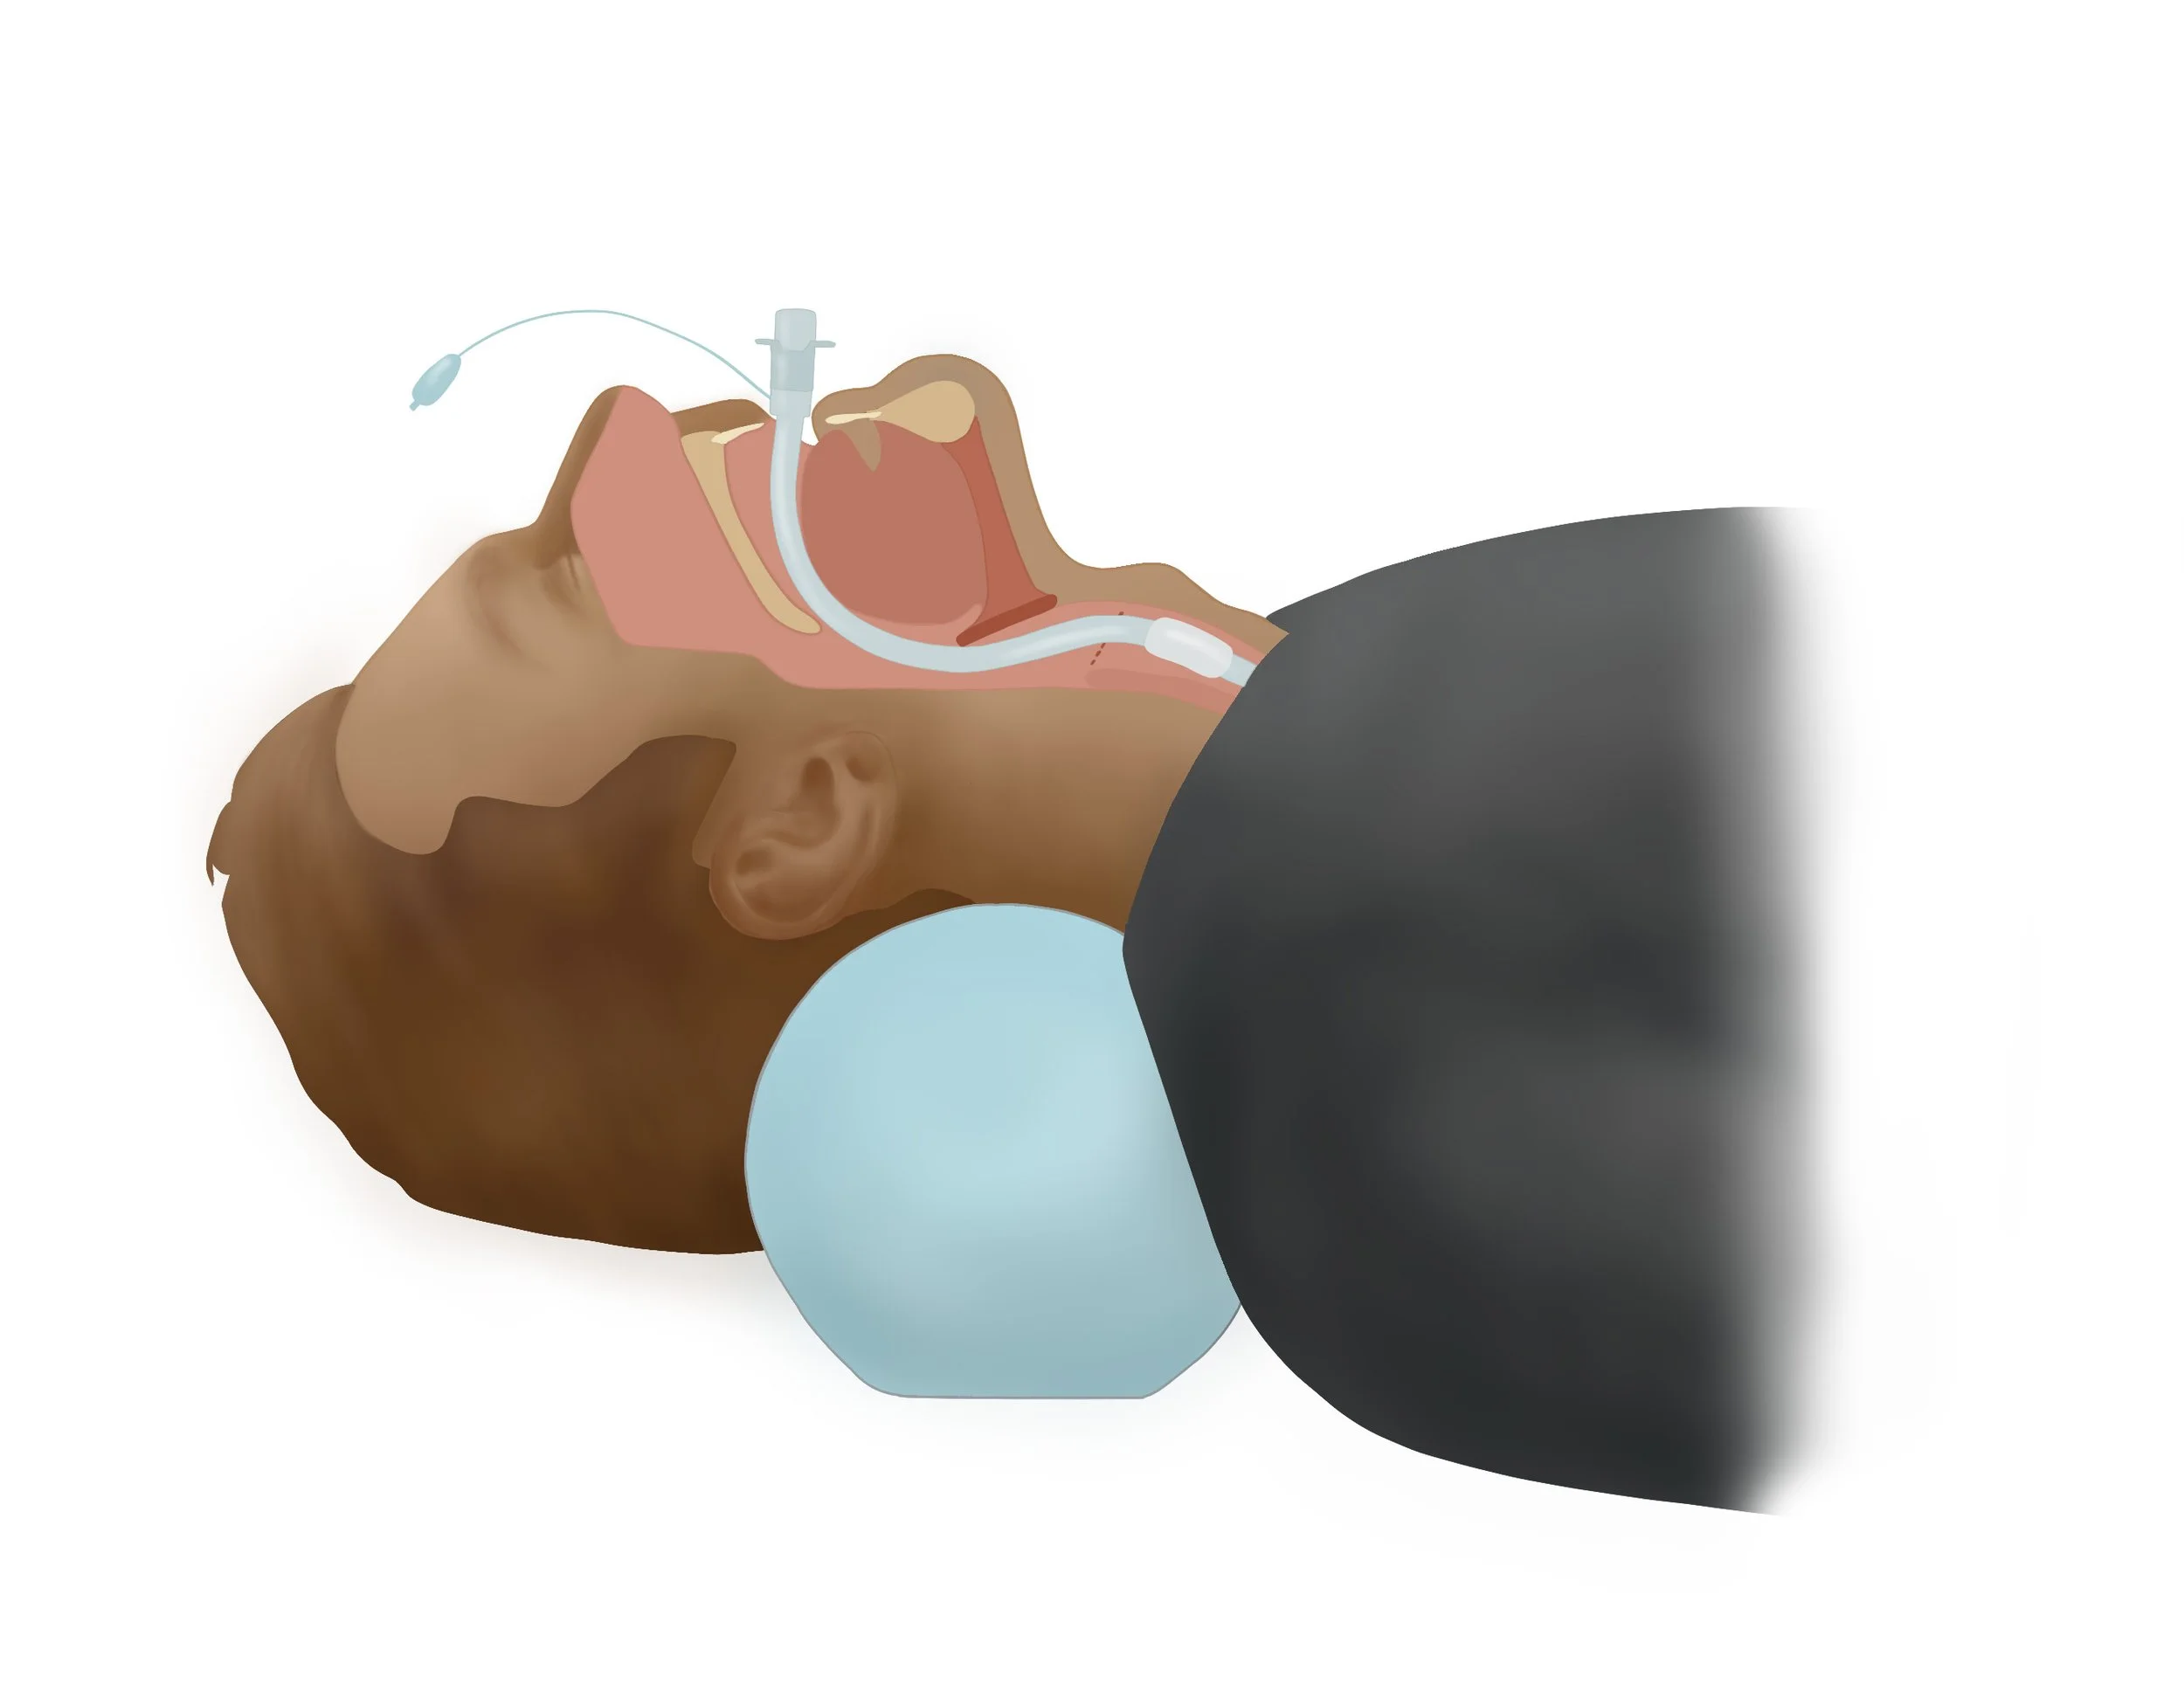
3D models
If taking your own photos is a game-changer, using 3D models is like having a professional superpower. Sometimes the specific angle you need for a procedure is physically impossible to capture with a camera, like an internal view of a joint. With 3D software, you can rotate the camera to almost any angle and use that as your reference. Even better, you can toggle the transparency of the skin and other layers to see exactly how the underlying nerves, vessels, and muscles align with the surface anatomy. It’s like having X-ray vision that takes the guesswork out of where a structure should sit! It also acts as a great guide for lighting. Instead of struggling to imagine how shadows fall into every nook and cranny, you can set up a virtual light and see the physics happen in real-time. Check out the interactive 3D model I made below if you want to experience this yourself.
Just like with photography, though, don’t let the software do all the thinking for you. Some 3D models can look a bit plastic or oversimplified, and they don’t always capture the natural variation of a real human body. Use the model to nail the difficult foreshortening and perspective, but lean on your anatomy training to ensure the final illustration feels like living, breathing biology rather than a digital mannequin. It’s about using the best tools available to get the "map” right, so you can spend your energy on the actual artistry.
I have several apps of 3D human anatomy on my phone and I use websites like Sketchfab.com (free to use) to find specific organs or internal body parts. With 3D models on Sketchfab, you have to be SO CAREFUL when choosing a model because anyone can post a model there. Make sure you follow my 3 rules stated above to find a good model because even though a model may look pretty and professional, it could be a dud.
The Holy Grails: Anatomy Textbooks & Cadaver Atlases
Anatomy textbooks and cadaver atlases are SO USEFUL and you can get them at your local library too (for free)! Since you obviously can’t take a custom photo of internal structures (at least not without a surgical team), these classics become your best friends. I like to think of textbooks as the idealized version of the body, they’re the perfect schematic of how things should look for the sake of clarity. Cadaver books, on the other hand, show you the messy, beautiful reality of actual human insides. Beyond just the shapes, these books are invaluable for understanding the true spatial relationships and textures of the body. I recommend the cadaver atlas, Anatomy: A Photographic Atlas. I keep it on my desk for almost every project because it’s the only way to truly see how structures weave together in the real world. Comparing the images in the two textbooks is a great way to help you see where nature deviates from the standard and teaches you how to simplify a complex tangle of tissue into something a viewer can actually understand. When you’re stuck on how to render a specific organ or nerve path, looking at how a master illustrator simplified that same structure in a textbook gives you a perfect roadmap for your own work. It’s all about building a visual library so that when you do sit down to draw, you aren't just guessing, you're working from a place of anatomical authority.
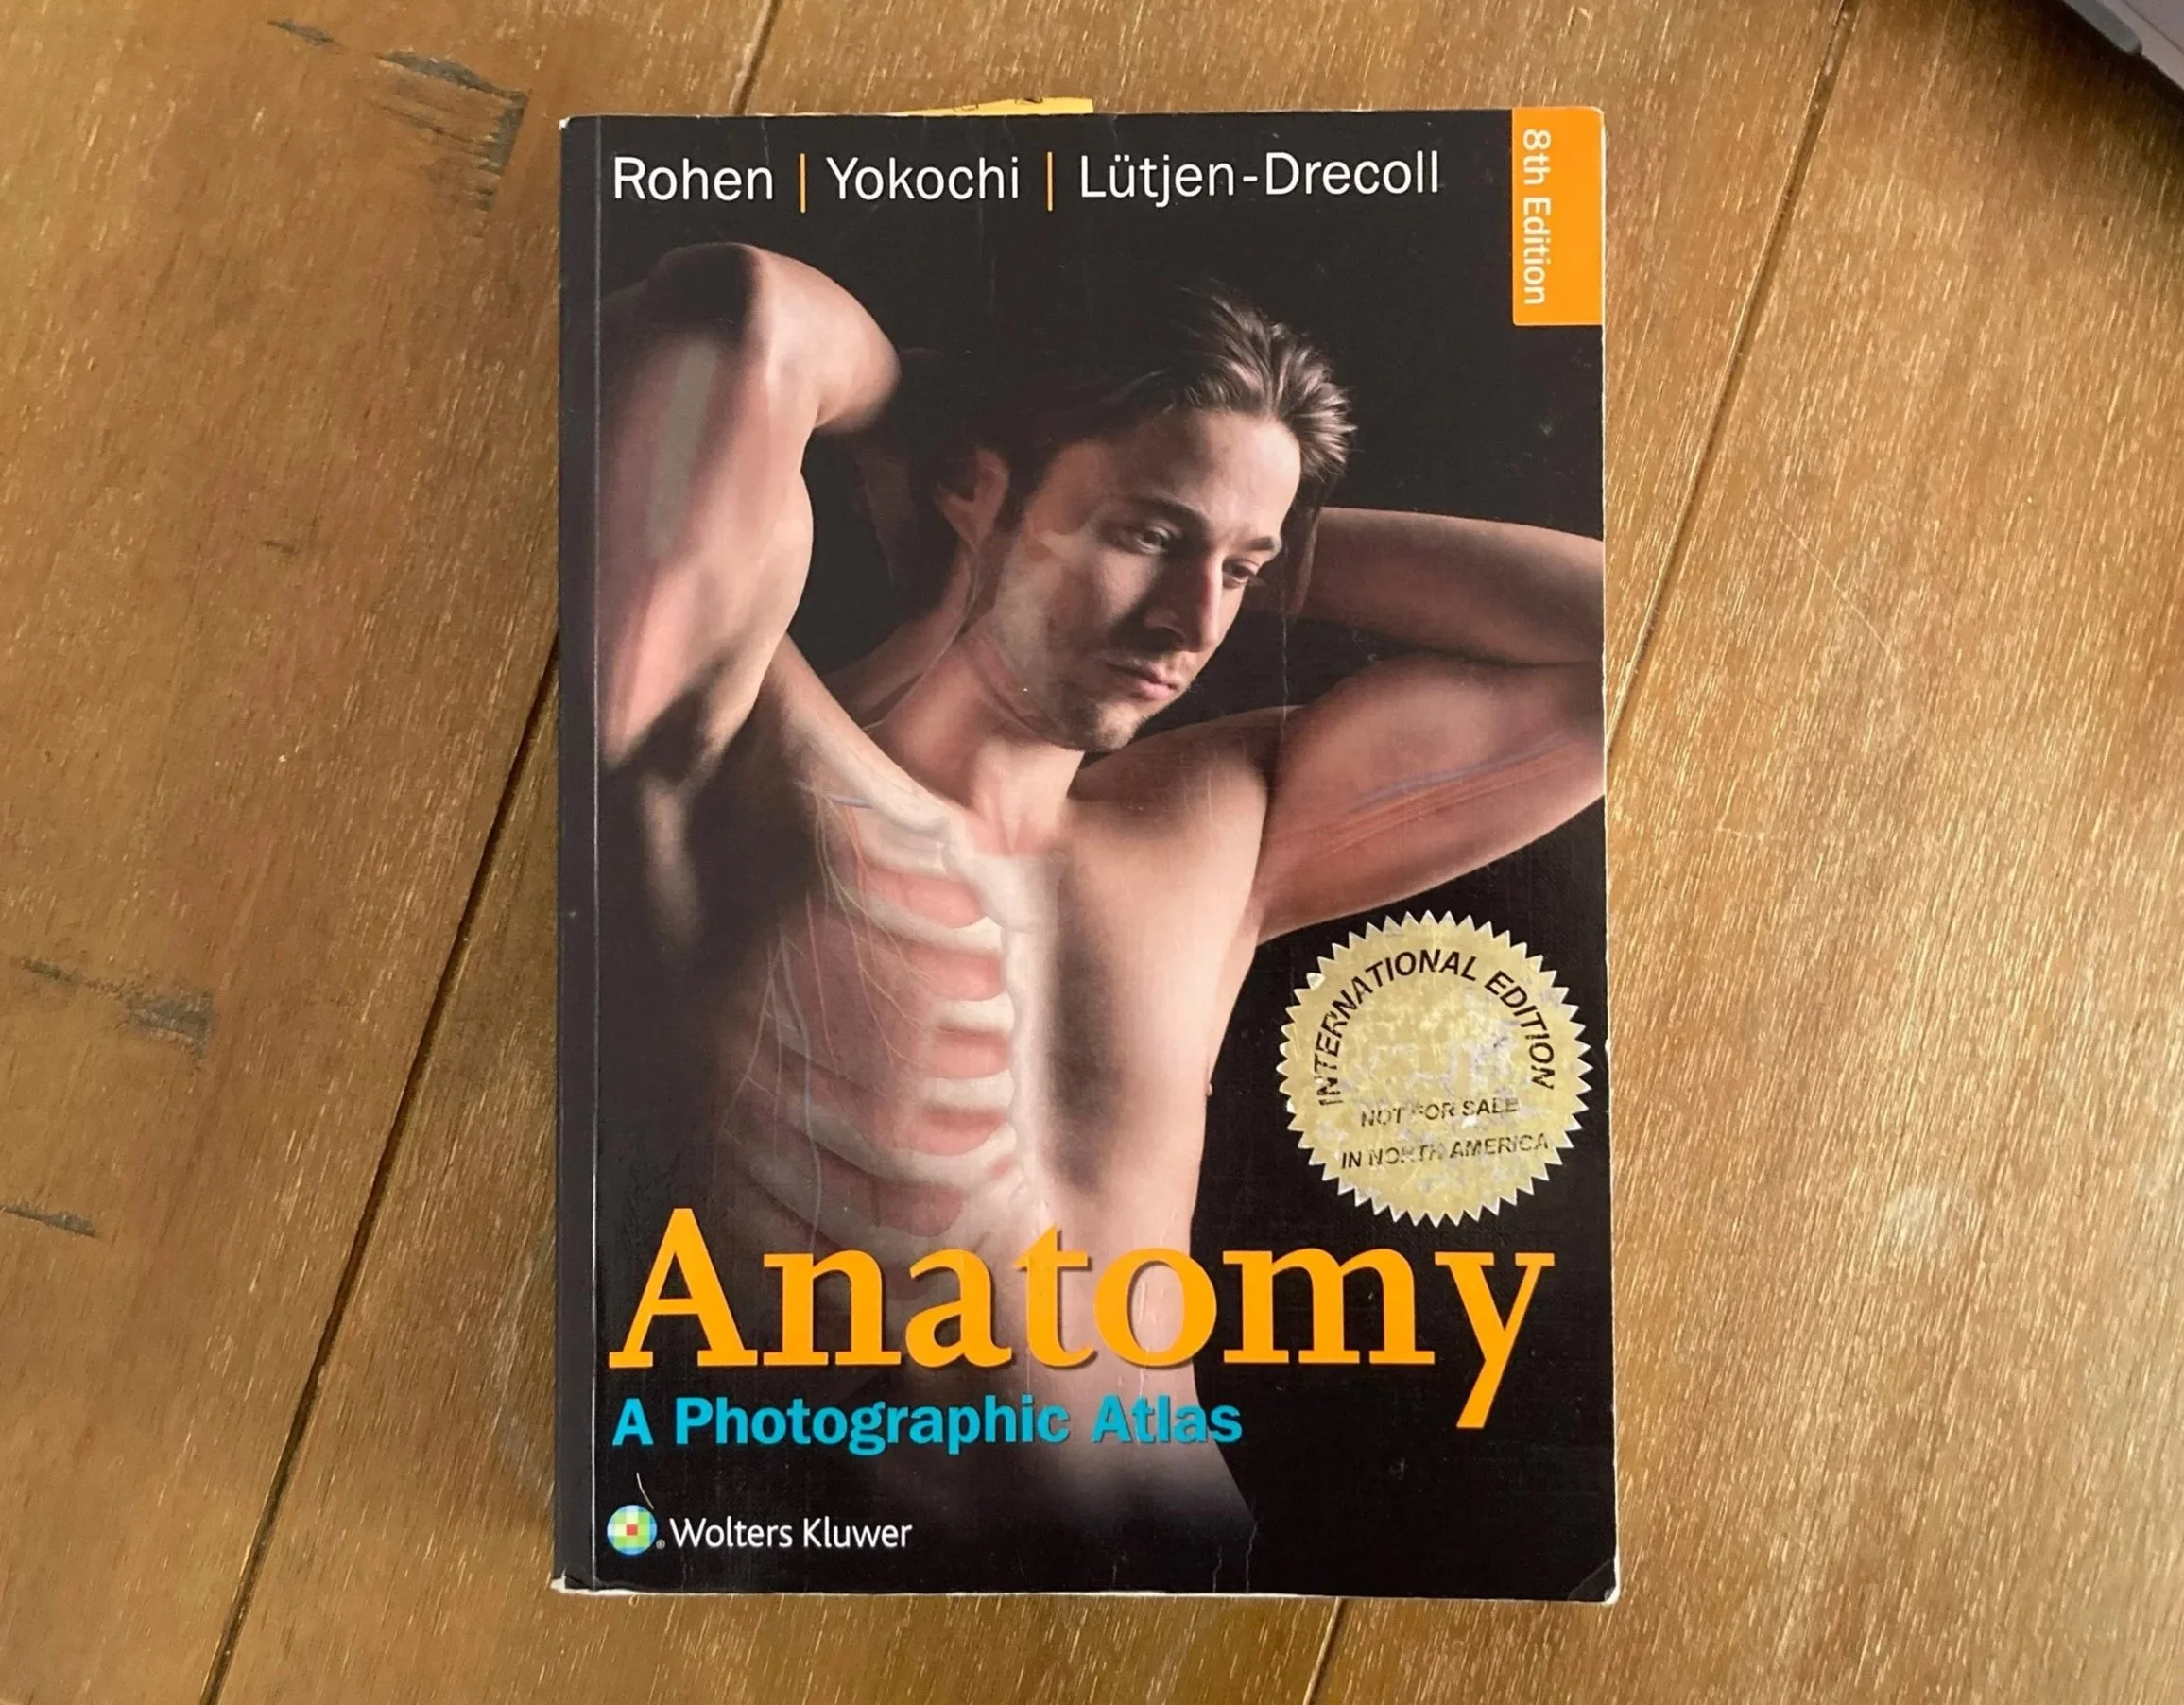
I use this book for almost every illustration!
There are plenty of other fantastic resources out there (surgical videos, histological slides, and even museum exhibits) but we’d be here all day if I tried to list them all. The key isn't having a thousand bookmarks; it’s about having a critical eye. As long as you stay vigilant and filter every source through our three golden rules (1. anatomically correct 2. reputable source and 3. functional lighting) you’ll see your work elevate to a high-quality educational tool. So, stop stressing about free-handing everything from scratch. Use the tools, vet your sources, and enjoy the process!!
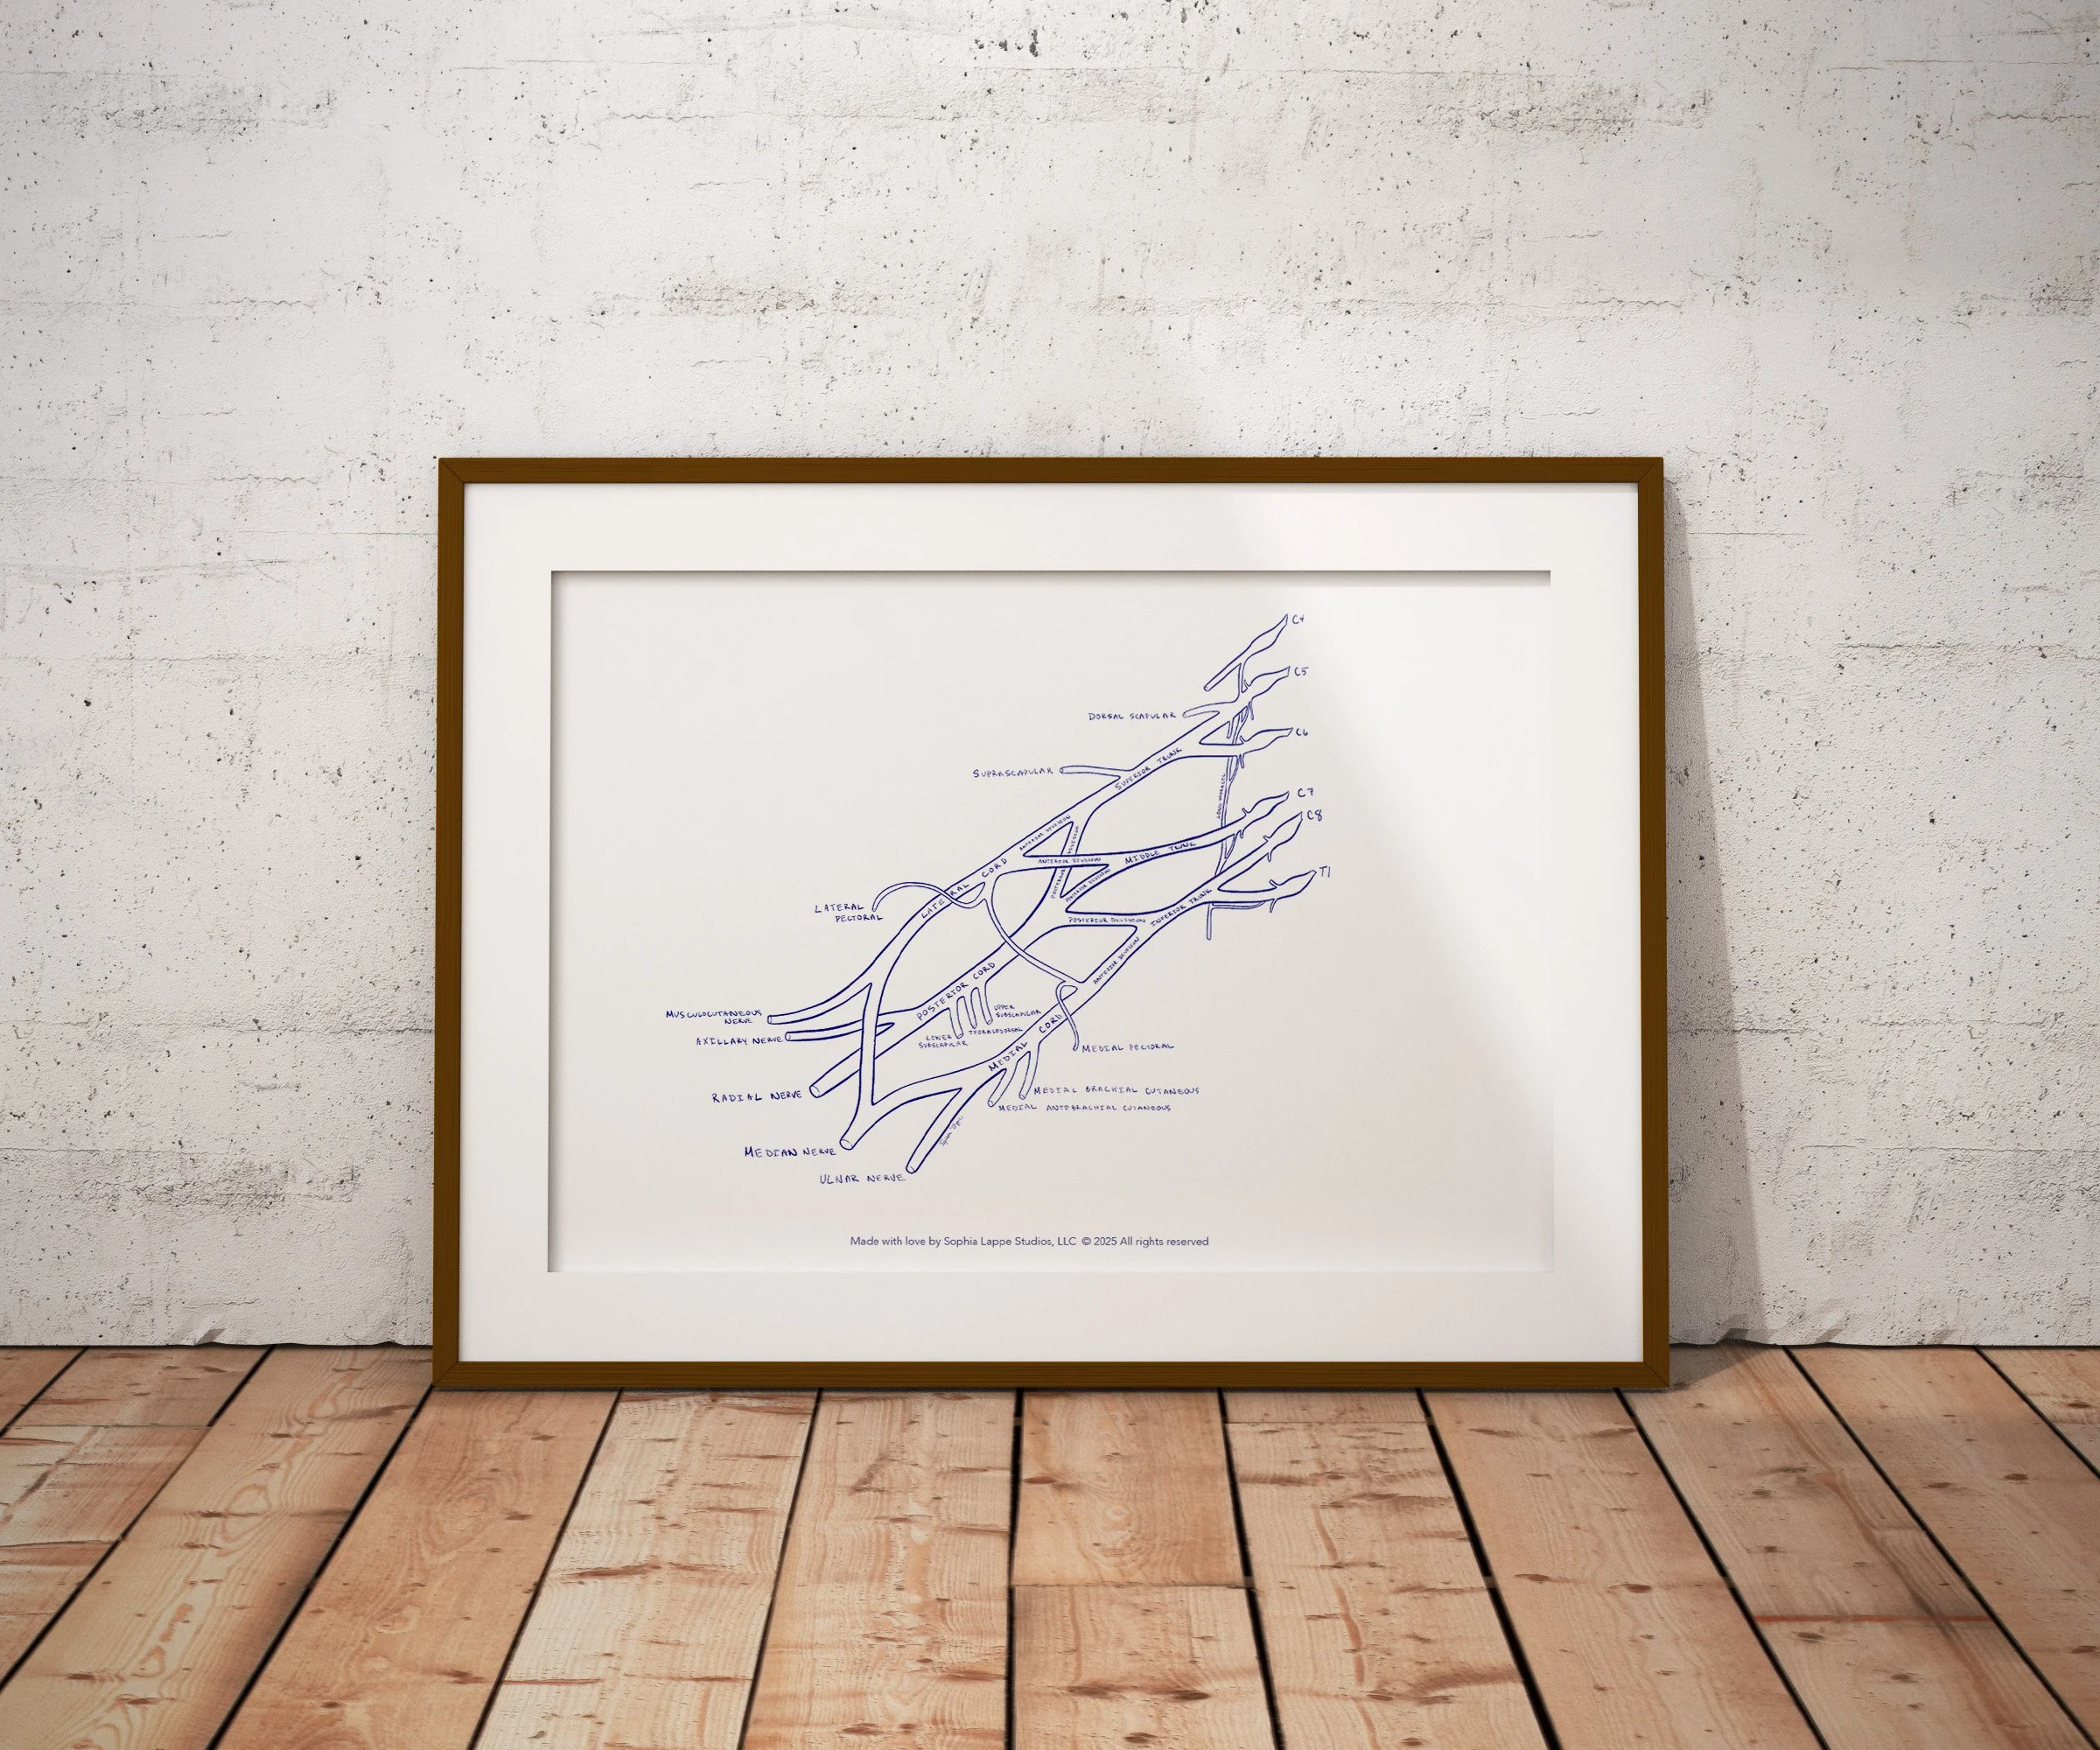
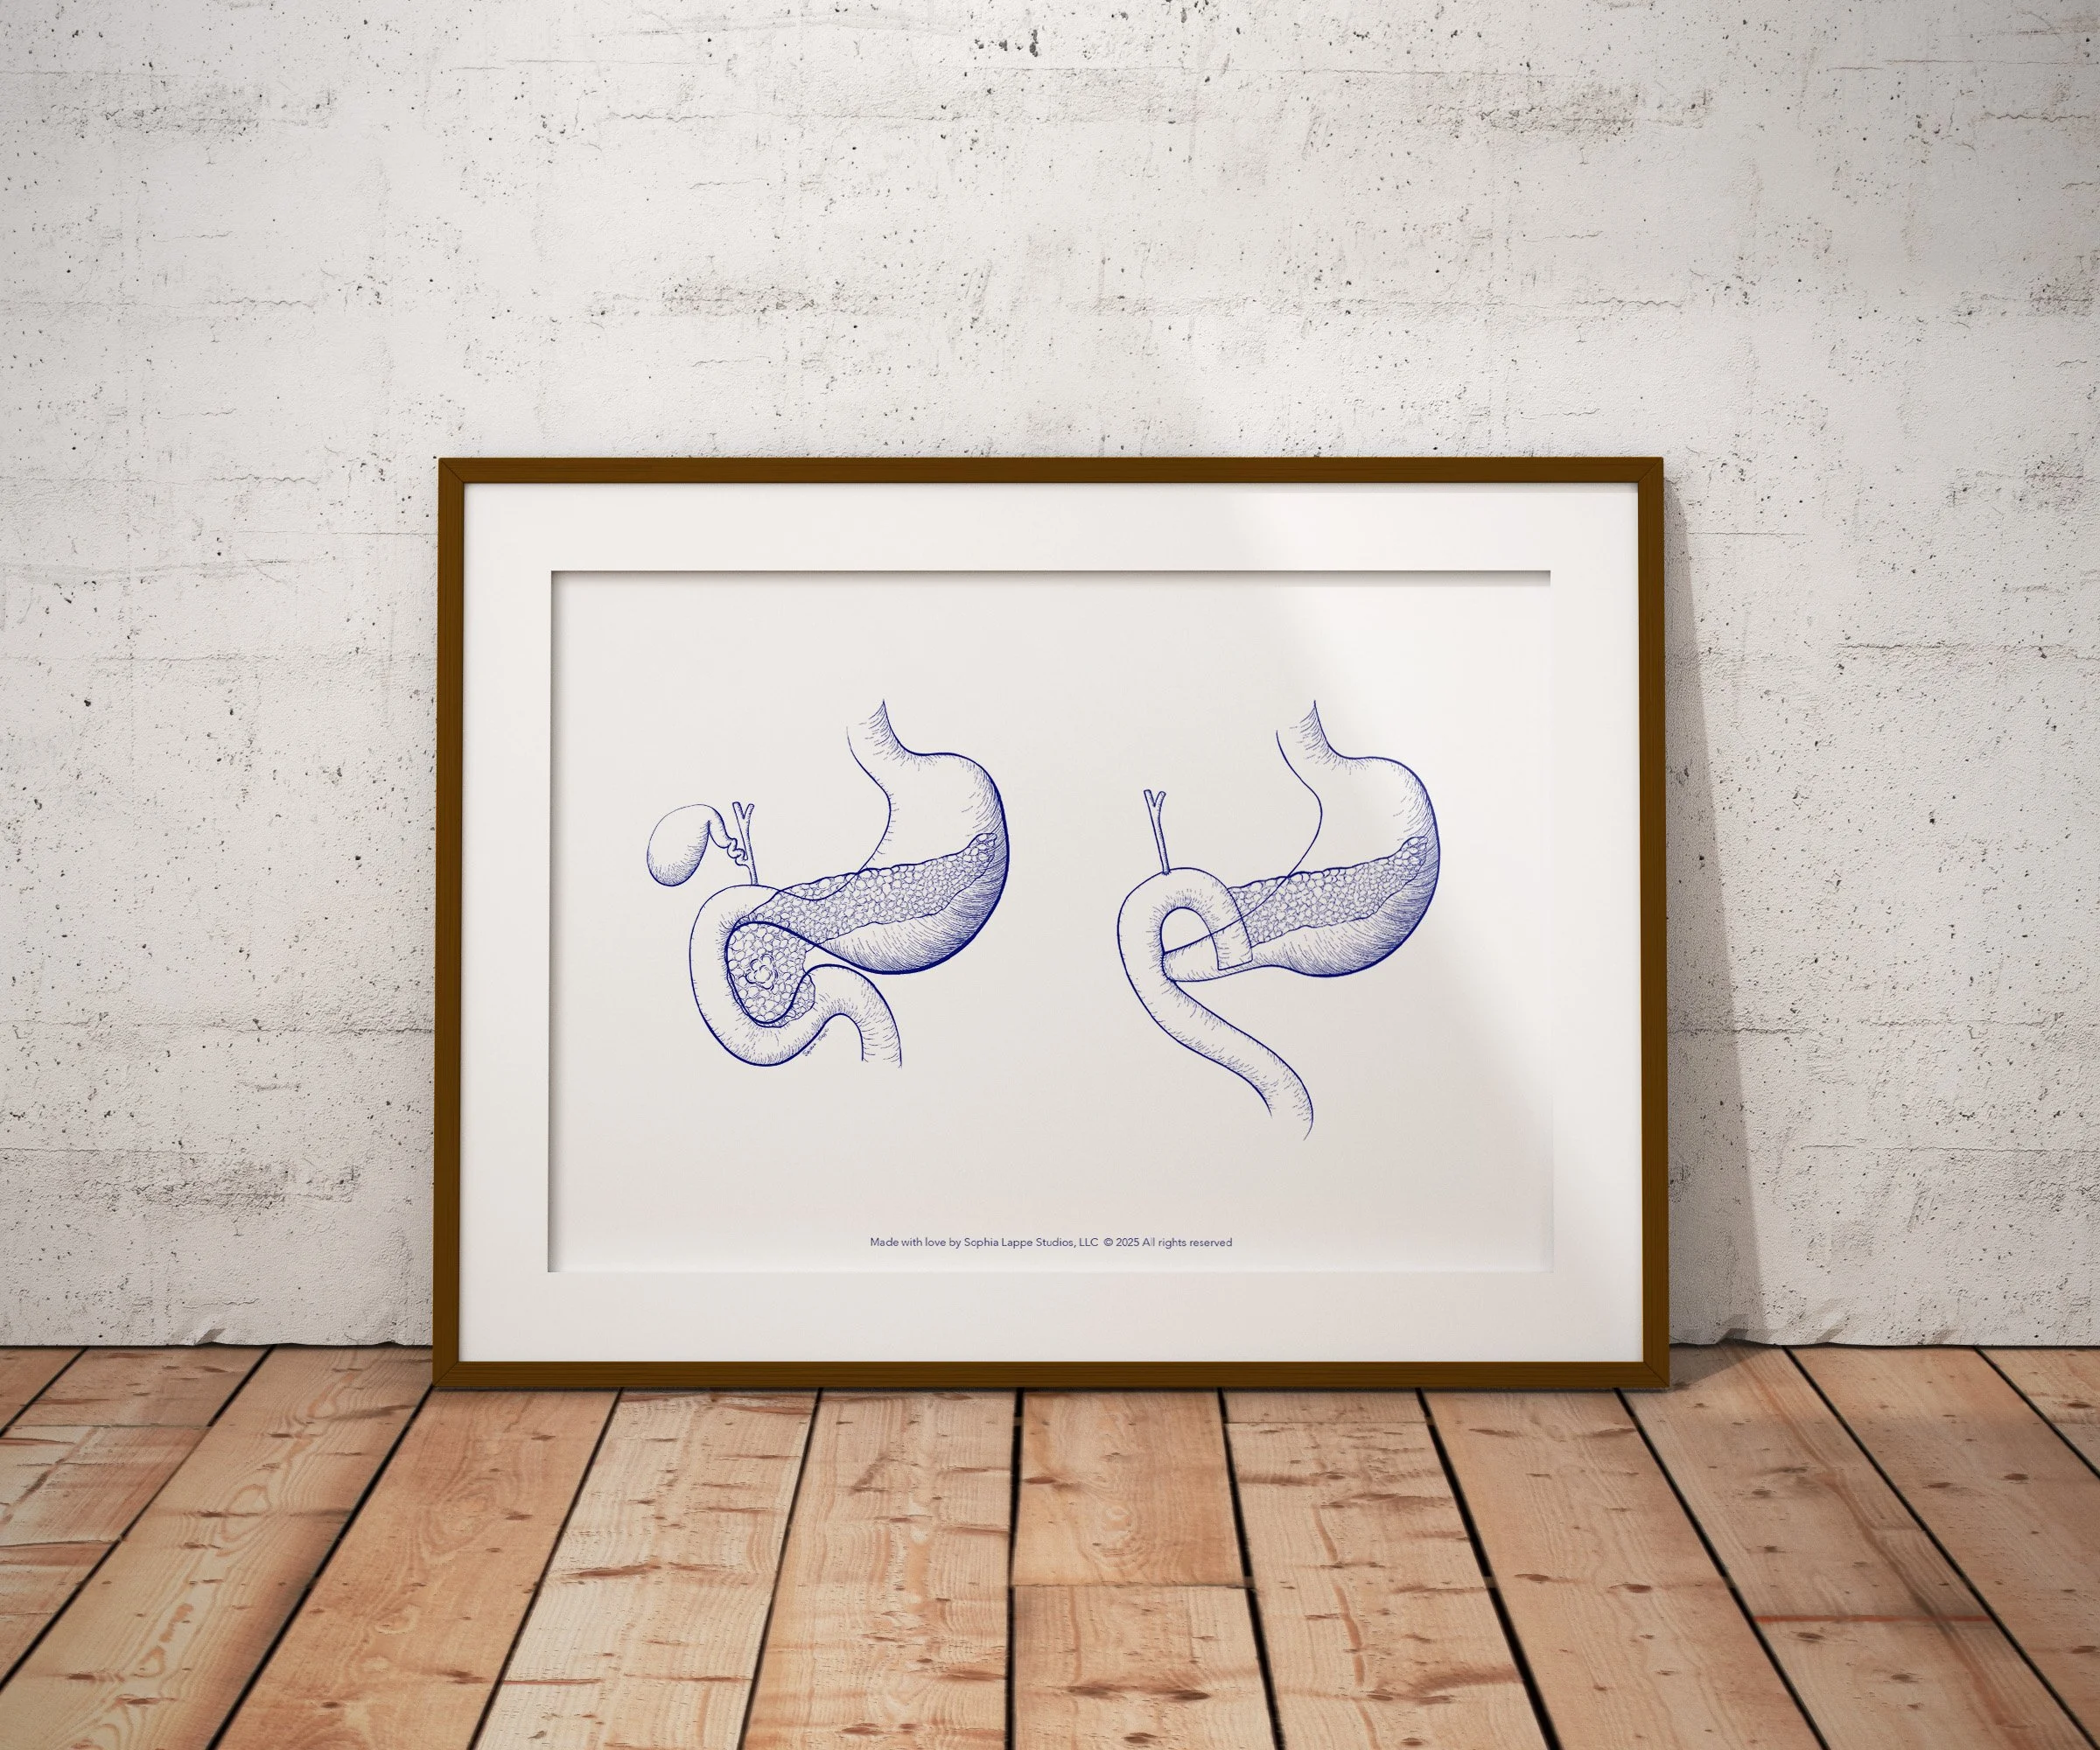
If you share my love of anatomy, I’ve turned some of my favorite illustrations into high-quality prints. You can find them right here in my shop!

If you’d like to work together, have questions or need advice about medical art, please don’t hesitate to get in touch!